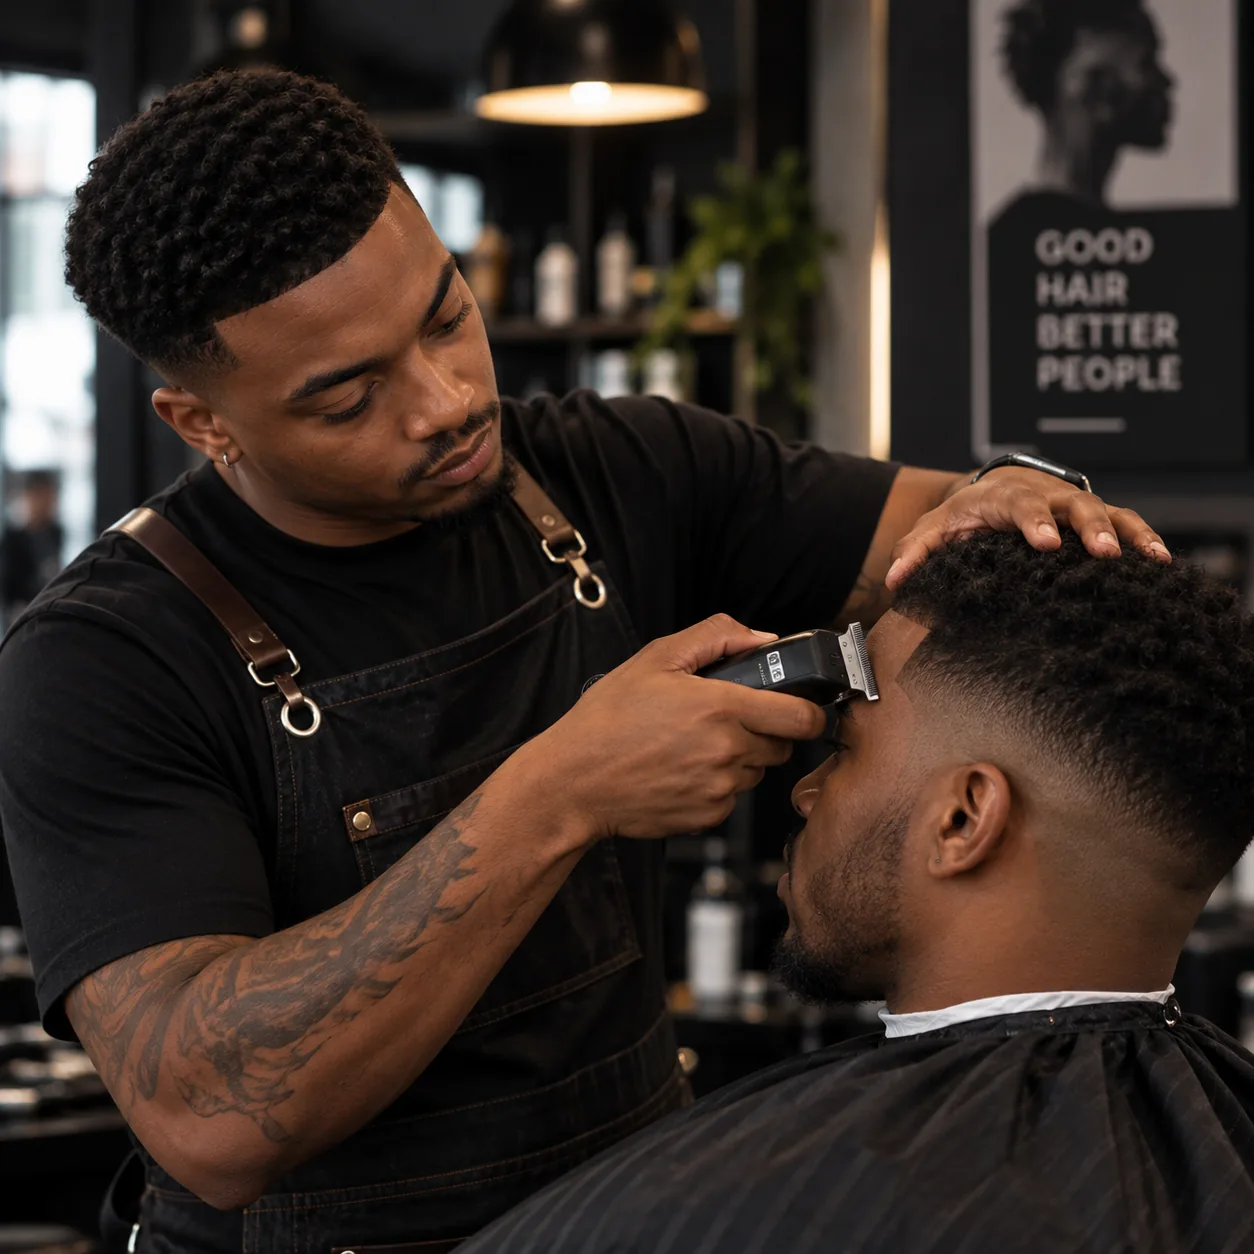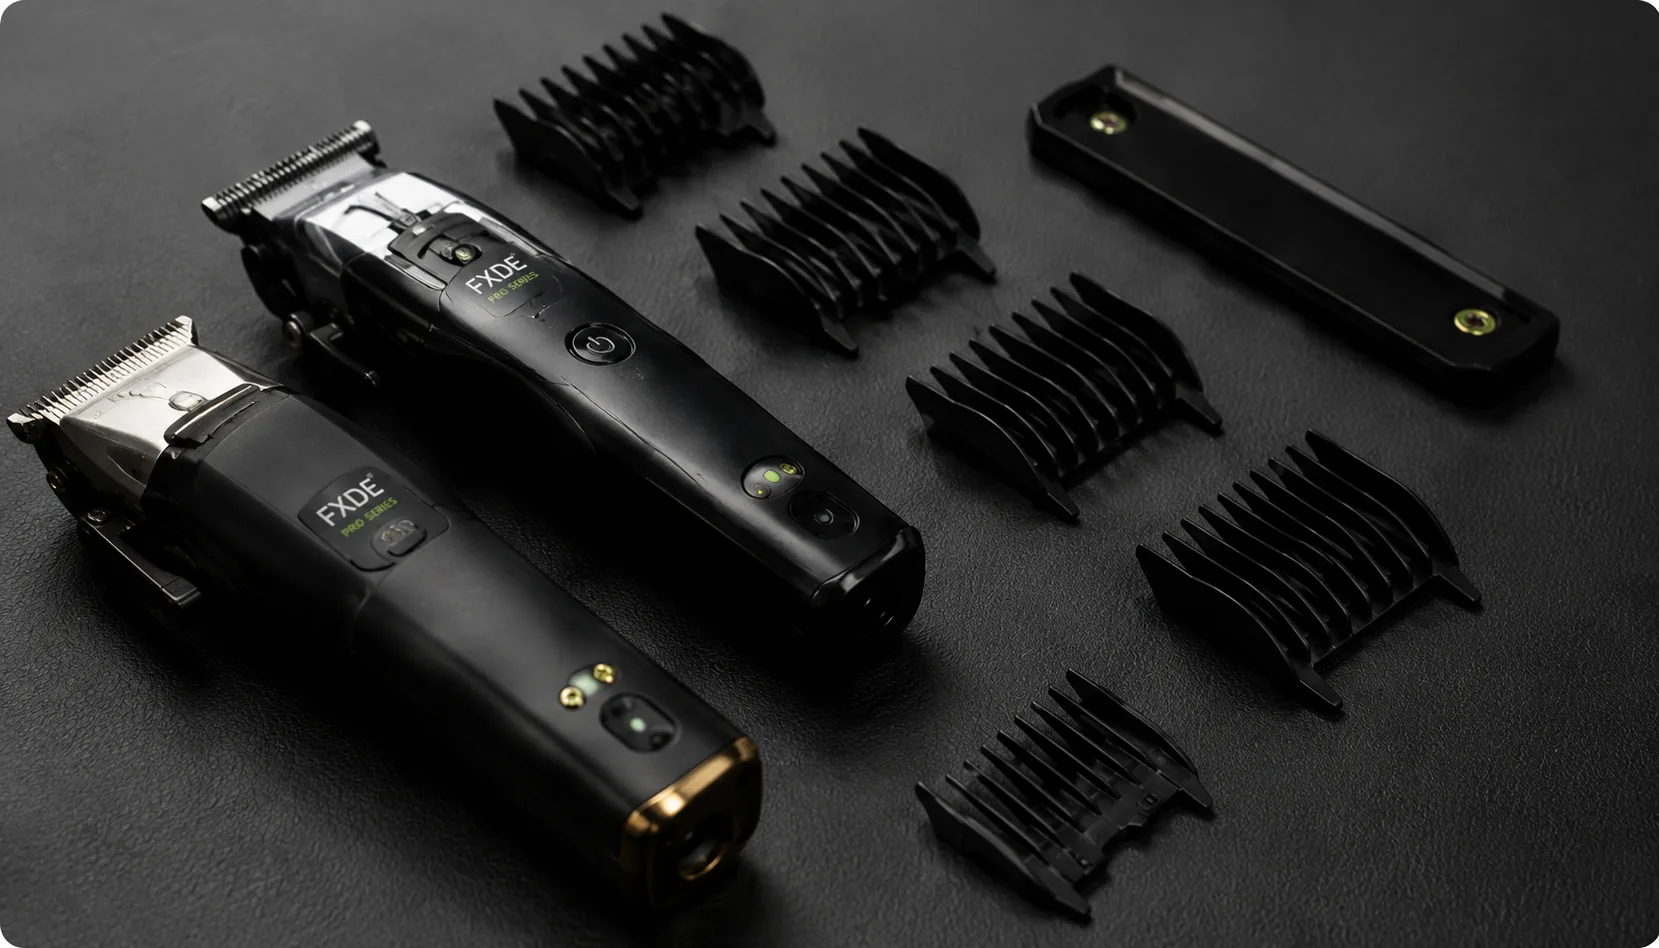

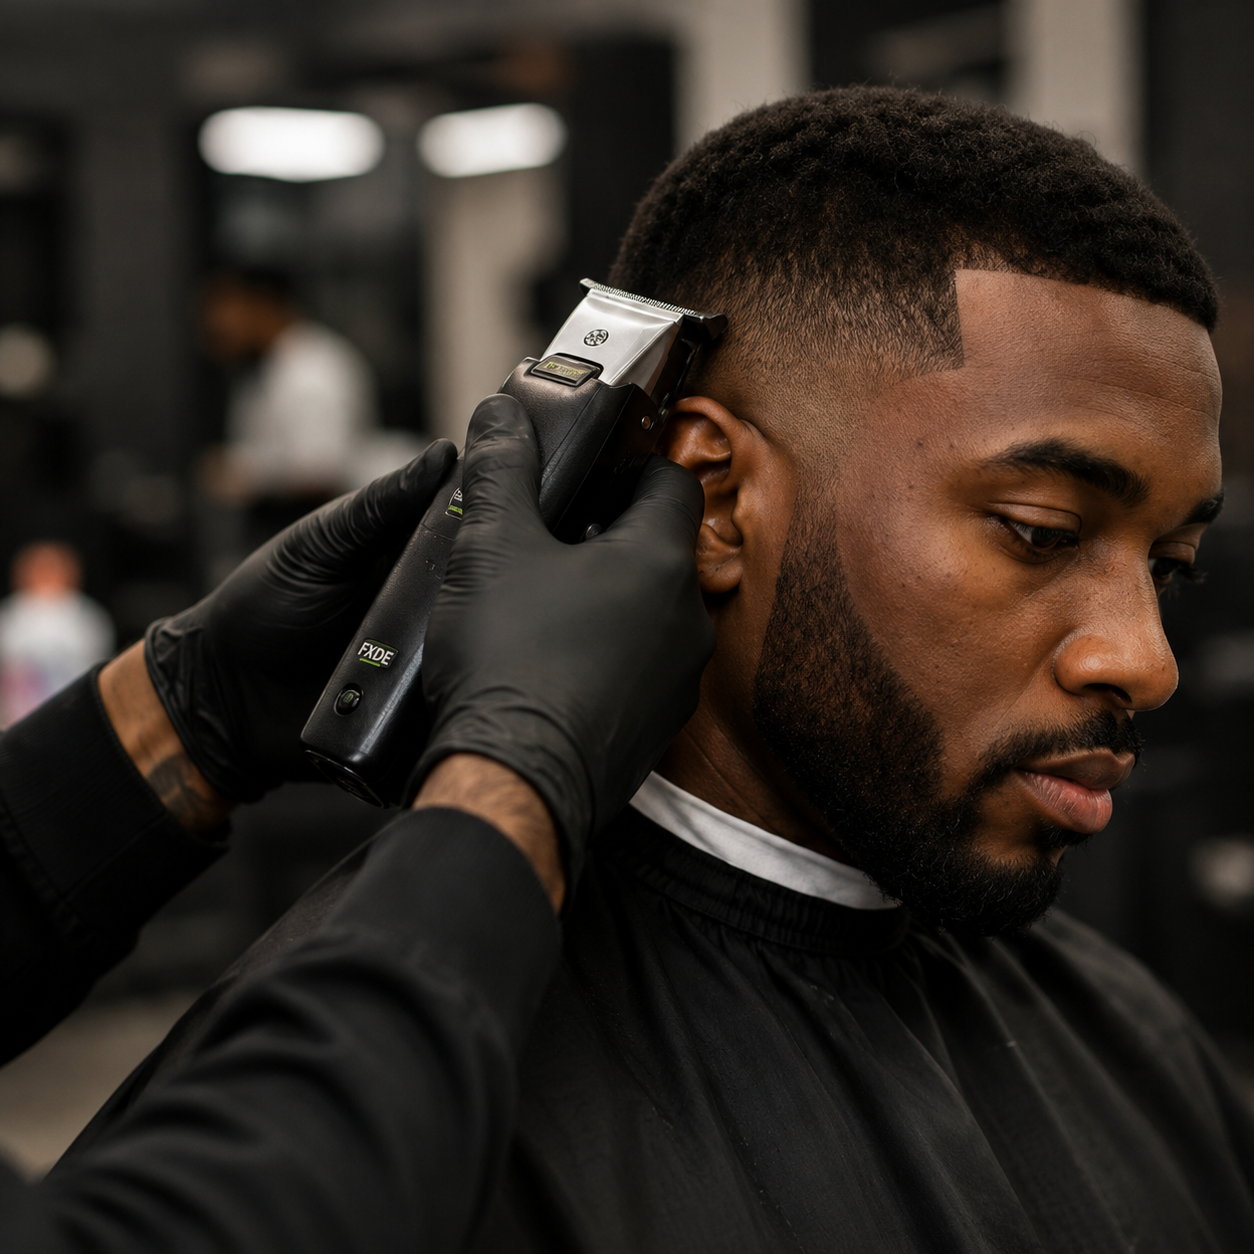
Almost every fade that comes out patchy fails for one of three reasons: the guideline was set in the wrong place, a guard size was skipped, or the blend was checked at the wrong moisture level. Fix those three and the fade fixes itself. Here is the sequence, in the order a working barber runs it.
Set the guideline before you blend anything
The guideline is the shortest point of the fade, usually at the neckline or temple, cut with a bare or near-bare blade. Every other length is built up from this line, so if it sits too high or drops unevenly, nothing above it will save the fade. Cut it deliberately and check it in the mirror from both sides before a single guard goes on.
A cordless clipper with a sharp detachable blade matters most right here, because the guideline is where a dull edge leaves a visible drag line you cannot blend out later. If your blade is catching at this stage, stop and swap it before you continue.
Work up in guard steps, do not free-hand it
Move up through the guard sizes in small increments, for example 0.5, then 1, then 1.5, rather than trying to blend free-hand from the start. Each guard pass should overlap the one below it by roughly a third. That overlap is what actually creates the gradient. Skip a guard size and you leave a gap the eye reads as a step, no matter how much you work the same length afterwards.
- Hold the clipper flat against the head, not angled. Angling digs the blade in and cuts a line instead of a gradient.
- Work against the direction of hair growth on the first pass, then check with the grain.
- Keep the wrist loose. The flick at the top of each stroke is what feathers the edge rather than cutting a hard stop.
Blend with clipper-over-comb before switching tools
Once the guard steps are in, clipper-over-comb blends the transition zone before you reach for shears or a trimmer. This is where a Master Fade Clipper paired with a genuinely sharp detachable blade earns its place, because a dull blade drags through the blend and you will feel it before you see it in the mirror.
The detail most guides skip: check the blend damp, not dry
A fade that looks perfect dry and patchy the moment it is damp means the blend was judged at the wrong moisture level. Dry hair hides gaps that damp hair reveals, which is why a client can leave happy and text you a photo from the shower looking uneven. Mist the section lightly with a spray bottle partway through and re-check the blend damp. It is a thirty-second habit that catches the single most common callback.
Lineup last, not first
Sharpen the lineup and any outline work after the fade is blended, using a T-outline trimmer. Cutting the lineup first and fading around it almost always means re-doing the lineup once the fade settles, so you have done the fiddliest part twice for no reason.
Where this has a limit
Sequence gets you a clean fade on most hair types, but it will not fully rescue a badly worn blade or hair with very tight, uneven growth patterns. If a fade still shows a step after two full passes over the blend zone with the correct guard sequence, the guards were too far apart, or the blade is past sharpening. Neither is fixed by pressing harder.